Gardeners are in the front line of the battle to preserve nature. These simple measures will help provide food and habitats for a healthy eco-system in your back yard.
Guidelines for Drawing Wildlife to Your Garden
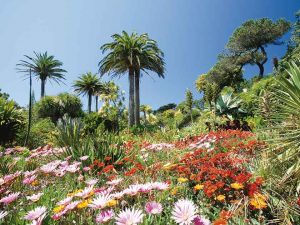
Australian gardeners have a brilliant opportunity to experience the pleasures of our exceptional flora and fauna. Vast areas of suburbia are within range of bushland corridors that are frequented by a wide range of fascinating wildlife. With some attentive landscaping and suitable plant selection, we can attract many of these captivating creatures as well as generate habitats and corridors to help regenerate and sustain breeding populations for future generations.
The types of wildlife that can flourish in your garden will depend on numerous factors:
- The proximity of adjoining bushland areas
- The presence of predators such as cats, dogs and foxes and your actions to counteract them,
- Whether you design your garden as a habitat where wildlife can not only visit, but also make it their home.
Nesting boxes for birds and marsupials make a good substitute for tree hollows which are usually hard to provide in urban areas. Trees or other tall perches provide spots where birds can survey your garden and decide whether they can find food and shelter in safety. Rockeries, logs and piles of sticks will provide a habitat for reptiles such as blue-tongue lizards
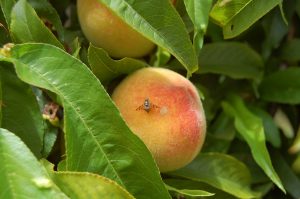
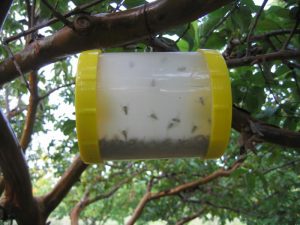
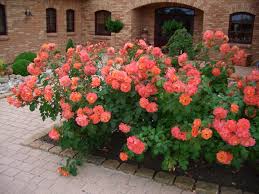
Unfortunately, bringing wildlife into your garden will create a risk if you also have fruit trees and favourite roses. A framework covered with netting can be erected at times of the year when damage is most likely, or throw over a large piece of bird netting. Sometimes birds, bats and snakes and larger lizards can get caught in netting, so it should be inspected from time to time so the unfortunate creature can be cut loose.
Birds and window collisions. If a bird sees what it perceives to be a clear flight through a house, then injury or death can result when it impacts an intervening window. Blinds, curtains and decorative objects placed behind the window will help to discourage this accidental problem.
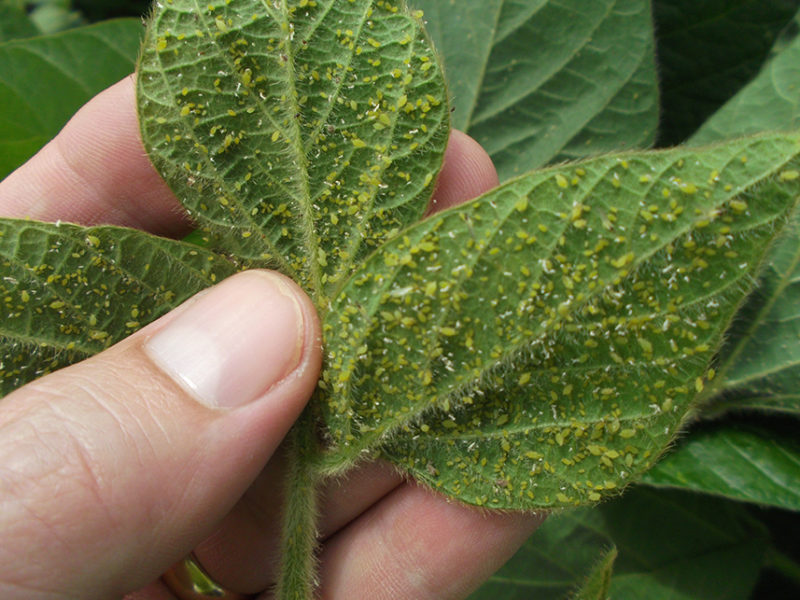
Do not use chemicals in your garden. As well as the possibility of causing acute toxicities to wildlife that could result in immediate death, there is also the problem of a long term build-up of toxic substances in local wildlife. In many cases birds and reptiles will provide adequate control of pests such as snails and aphids without the need for chemical measures.
Supplementary feeding can be provided at times of year when natural supplies are scarce, however, it should never become more than that. The healthiest course is to try to provide natural food sources for as great a part of the year as possible. Nectar feeders, seed trays and tables can be provided in locations that provide a safe haven from any unintended predators that may be lurking nearby.
Enticing Butterflies to your Garden
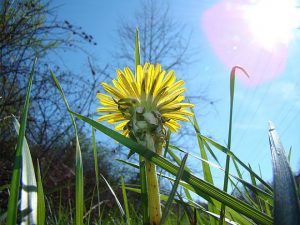
Butterflies and moths have a special beauty that makes them such a delight in the garden. Most species feed on nectar from the base of flowers that is part of their role as pollinators of a wide range of plants. A few tips to get your butterfly garden started are- 
Everlasting and Brachyscome daisies not only provide nectar but the daisy flower heads provide a great landing platform
Do not automatically destroy caterpillars in your garden unless they are doing major damage. Caterpillars are the larval stage of butterflies and moths.
Other plants that are particularly attractive include Grevilleas, Pimeleas (rice flowers), Lomandras (mat-rushes) and Dianellas (flax lilies).
 Attracting Reptiles and Frogs to your Garden
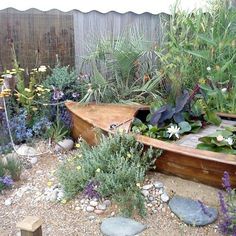
Frogs and small reptiles will be attracted by ponds that have a natural feel with suitably placed rocks and water plants. They will also control mosquito larvae and other insect pests as a side benefit. Such a pond will also benefit birds and any mammals that find their way into your garden. A log or large rock in the water can provide a perch for birds to drink and bathe in safety from predators such as cats.
The pond can be as simple or ambitious as you like. A cheap and simple pond can be made from a solid styrofoam box or old kid’s paddling pool, a great project to share with the children. Be aware though that care will be needed with young children, as they can drown in even shallow bodies of water. A netting overlay can be made to cover the pond for peace of mind. Larger pools can be made with commercially available plastic ponds, or plastic or rubber linings used for excavations. Once the family swimming pool has outlived the chore of daily maintenance, it can be converted to the ultimate home wildlife sanctuary, inviting water birds as well as frogs, dragon flies and other lovely insect life.
Attracting Native Birds to Your Garden
Nectar feeding birds are one of the simplest groups to entice as there is a wealth of appropriate plants such as eucalypts, angophoras, banksias, grevilleas, waratahs, kangaroo paws and many others. Look for tubular shaped flowers as this indicates plants that are pollinated by nectar feeders such as spinebills, honeyeaters and wattlebirds. The remarkable parrot family also includes lorikeets and rosellas which also feed on nectar as well as seeds from eucalypts, acacias, casuarinas and tea trees as well as many other easy to grow natives.
Rainforest plants including Lillypillies and blueberry ash have colourful berries that appeal to parrots as well as various species of native pigeons. Finches such as red-browed firetails and zebra finches will feed on the seed of native grasses such as wallaby and kangaroo grass while superb fairy wrens, fantails and thornbills are insectivorous and will greatly aid in controlling pest insects in your garden. Small birds such as these will appreciate spiky leafed plants such as Grevillea rosmarinifolia, Acacia oxycedrus and Melaleuca styphelioides to enable them to have a safe haven within your garden.
Winter Food Sources for Garden Wildlife
A number of Australian plants can offer winter sustenance such as most correas (also known as native fuchsias), various banksia species and ever blooming grevilleas such as Robyn Gordon, Superb, Moonlight and Misty Pink. Autumn flowering wattles such as Acacia iteaphyla, linifolia and terminalis along with native grasses such as kangaroo and wallaby grass will provide seed through the winter months.
Many exotic garden plants such as camellias, red hot pokers, fuchsias and members of the hibiscus family and abutilon will provide food sources for a number of native bird species.
In addition, a number of hostile species such as jasmine, ivy and even blackberries can and do provide nesting and sheltering sites for birds and possums. Other less apparent weed species such as winter grass also provide seed that supplements the diet of smaller birds. If you intend to substitute these weedy species it is a good idea to gradually remove them and replace with more environmentally friendly plants, rather than leave gaping holes in the landscape.
If you want to add a professional touch to your wildlife sanctuary, call Jim’s Mowing for their landscaping expertise on 0800 454 654 or book online now!
 In building windbreaks, you can try to combine trees and shrubs with any material you have on your property. You may also use fences and screens, but be sure to leave a gap to prevent turbulence. Keep the harsh wind and intense sunlight away from your plants.


 COMPOST
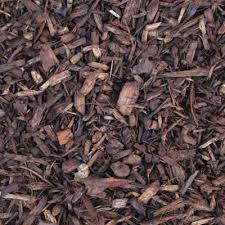 WOODCHIP MULCHES
 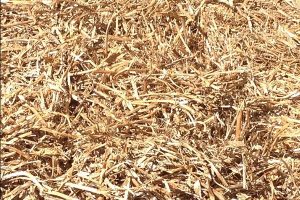 STRAW
STRAW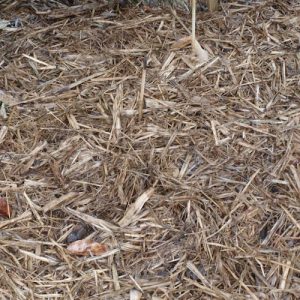 SUGARCANE MULCH
 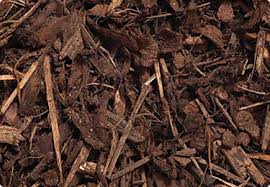 BARK MULCHES
 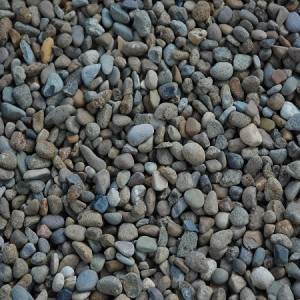 GRAVELS AND PEBBLES
 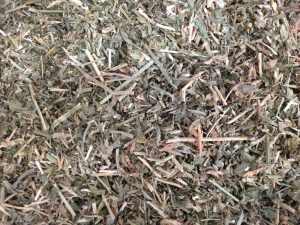 LUCERNE
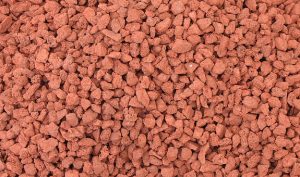 SCORIA
 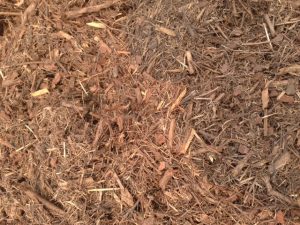 TEA-TREE MULCH
 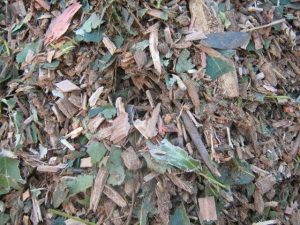 TREE AND SHRUB LOPPING RESIDUE